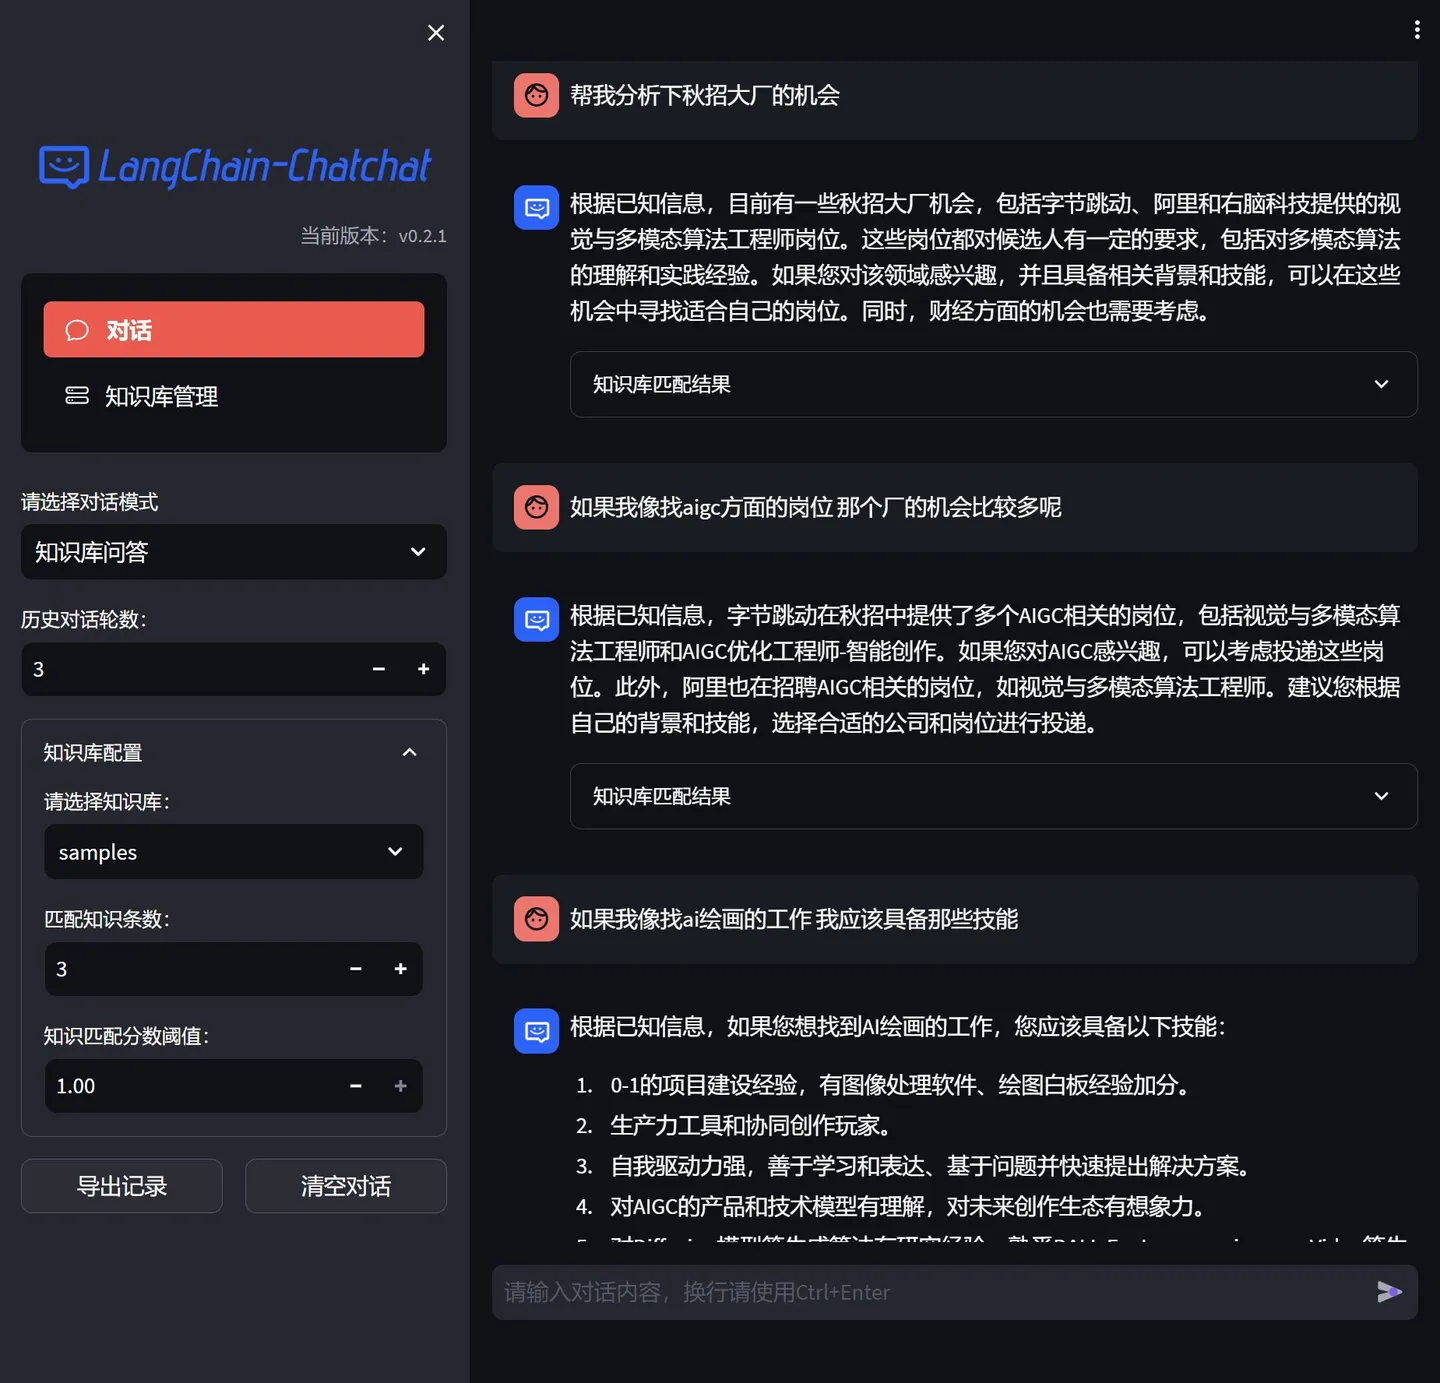
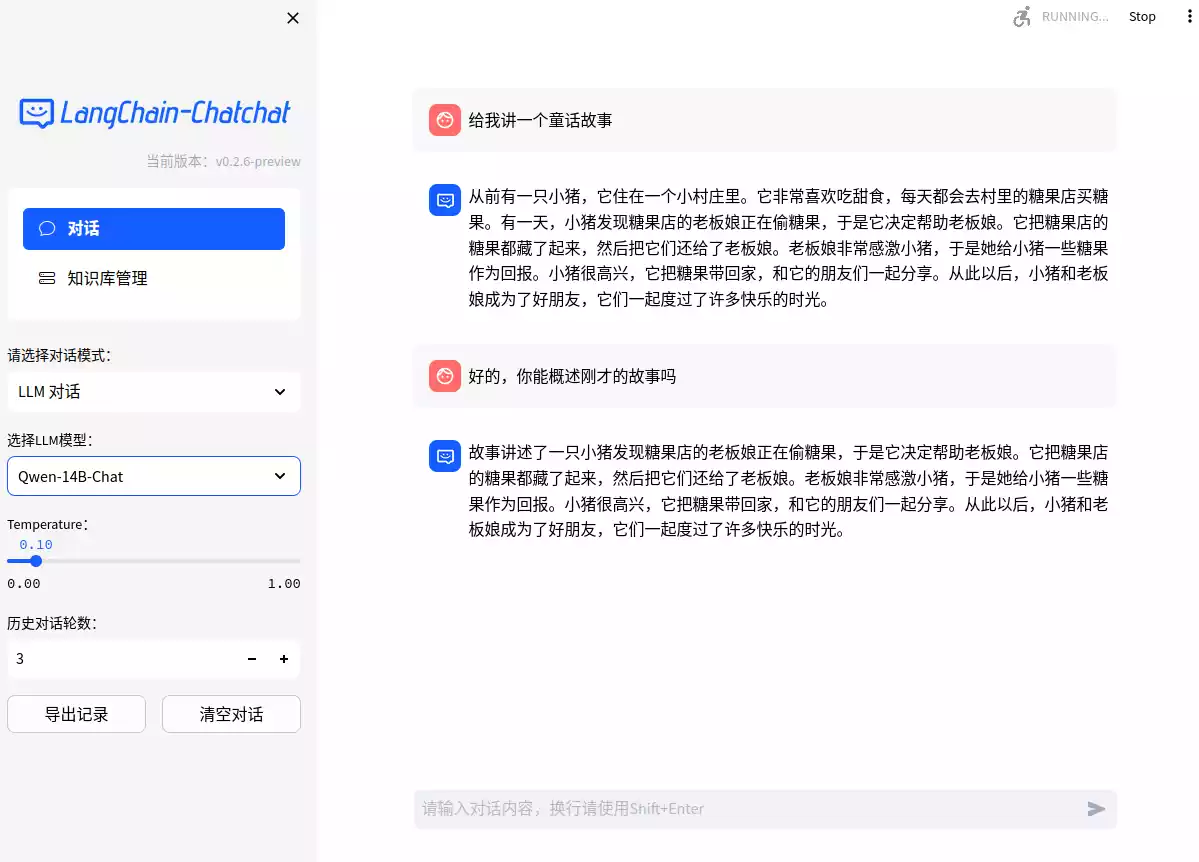
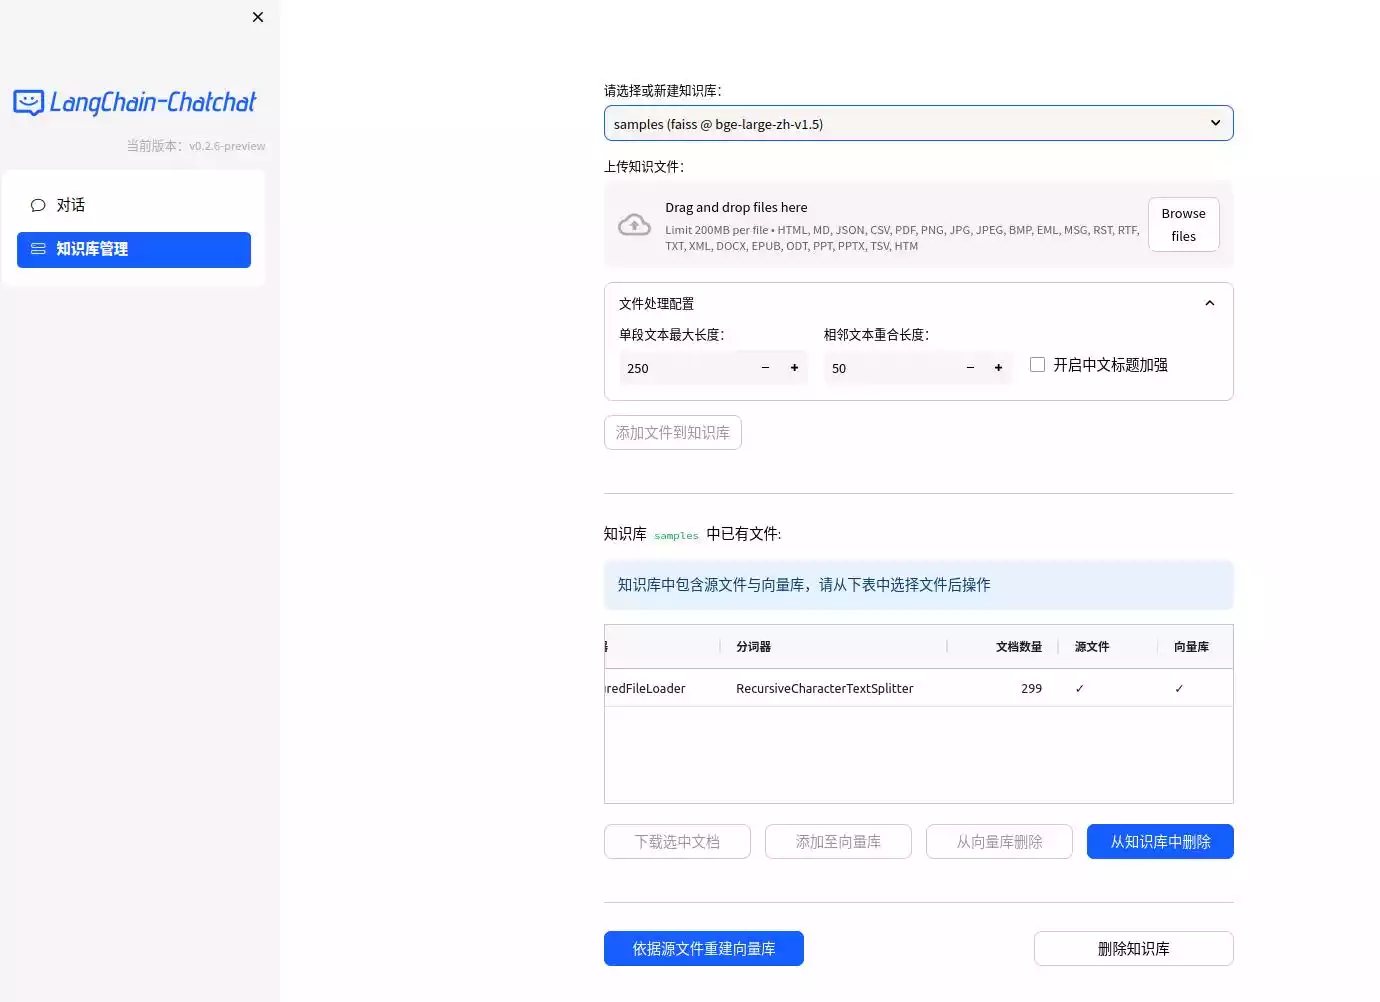
Langchain-Chatchat 部署教程!开源可免费商用,完全本地化推理的知识库增强方案!!
发布时间:2024年04月23日
Langchain-Chatchat 是一个可以实现:完全本地化推理的知识库增强方案, 重点解决数据安全保护,私域化部署的企业痛点。 开源方案采用Apache License,可以免费商用,无需付费。
支持市面上主流的本地大语言模型和Embedding 嵌入式模型,支持开源的本地向量数据库。
1. 环境配置
- 首先,确保你的机器安装了 Python 3.8 – 3.11 (强烈推荐使用 Python3.11)。不要使用最新版!【官网下载】
-
python --versionpython --version
python --version
- 安装CUDA Toolkit,建议安装 CUDA 12.1版本,因为开发者就是用的这个版本,点击前往【官方下载】;
- 需要注意的是,如果你不在海外,需要自行全局科学上网,否则无法正常安装。
2. 正式安装
拉取仓库项目文件:
git clone https://github.com/chatchat-space/Langchain-Chatchat.git
# 进入目录
cd Langchain-Chatchat
# 安装全部依赖
pip install -r requirements.txt
pip install -r requirements_api.txt
pip install -r requirements_webui.txt
# 默认依赖包括基本运行环境(FAISS向量库)。如果要使用 milvus/pg_vector 等向量库,请将 requirements.txt 中相应依赖取消注释再安装。
# 拉取仓库
 git clone https://github.com/chatchat-space/Langchain-Chatchat.git

# 进入目录
 cd Langchain-Chatchat

# 安装全部依赖
 pip install -r requirements.txt
 pip install -r requirements_api.txt
 pip install -r requirements_webui.txt

# 默认依赖包括基本运行环境(FAISS向量库)。如果要使用 milvus/pg_vector 等向量库,请将 requirements.txt 中相应依赖取消注释再安装。
3.下载模型
git lfs install
git clone https://huggingface.co/BAAI/bge-large-zh
git clone https://huggingface.co/THUDM/chatglm3-6b
git clone https://huggingface.co/BAAI/bge-large-zh
初始化配置
python init_database.py --recreate-vs
python copy_config_example.py
python init_database.py --recreate-vs
4.启动
python startup.py -a
第一次启动的时候需要输入一个邮箱,就可以打开 webUI 可视化界面进行使用!
GPU硬件推荐参数
14B级模型,显存30GB+,推荐 NVIDIA Tesla V100 32G及以上
39B级模型,显存69GB+,推荐 NVIDIA A100 80G及以上
72B级模型,显存145GB+,需要专业级显卡或者多卡叠加
7B的模型,显存14GB+,推荐 NVIDIA RTX4080 16G及以上
14B级模型,显存30GB+,推荐 NVIDIA Tesla V100 32G及以上
39B级模型,显存69GB+,推荐 NVIDIA A100 80G及以上
72B级模型,显存145GB+,需要专业级显卡或者多卡叠加
(默认安装的是 ChatGLM-6B 模型,中端型显卡可以直接本地运行)
本次演示环境系统: Windows 11 、GPU: RTX 4090 24GB、 CPU: i7-12700
当然如果你需要运行更大的模型,比如你想要顺利在GPU运行本地模型的 FP16 版本,你至少需要以下的硬件配置,来保证在我们框架下能够实现 稳定连续对话
- ChatGLM3-6B & LLaMA-7B-Chat 等 7B模型
- 最低显存要求: 14GB
- 推荐显卡: RTX 4080
- Qwen-14B-Chat 等 14B模型
- 最低显存要求: 30GB
- 推荐显卡: V100
- Yi-34B-Chat 等 34B模型
- 最低显存要求: 69GB
- 推荐显卡: A100
- Qwen-72B-Chat 等 72B模型
- 最低显存要求: 145GB
- 推荐显卡:多卡 A100 以上
5.安装过程中出现的常见错误和解决方法:
1.提示 ModuleNotFoundError: No module named ‘pwd’,这个模块是Unix系统上的,Windows 上并没有,所以我们需要进行降级:
pip install langchain-community==0.0.19
2.提示错误信息 | ERROR | stderr | AssertionError: Torch not compiled with CUDA enabled
说明你没有安装CUDA环境或者你安装的PyTorch版本不支持CUDA,解决方法:
pip uninstall torch torchvision torchaudio
通过上面的命令进行卸载后重新安装官方给出的正确版本,安装命令如下:
pip3 install torch torchvision torchaudio --index-url https://download.pytorch.org/whl/cu121
3.安装依赖 wavedrom 时报错 (setuptools_scm)的解决方法:
pip install setuptools_scm
安装后再重新安装依赖环境
如果你想要了解关于智能工具类的内容,可以查看 智汇宝库,这是一个提供智能工具的网站。
在这你可以找到各种智能工具的相关信息,了解智能工具的用法以及最新动态。


一个开源、高性能的聊天机器人框架,支持语音合成、多模态和可扩展(函数调用)插件系统。支持一键免费部署您的私人 ChatGPT/LLM Web 应用程序。